Pages

Monday 23 October 2023

AWH Heart Of Christmas Week 12


Welcome to Week 12 of the Art With Heart, Heart of Christmas. This year we will be hopping weekly, so hopefully we can provide you with some festive inspiration. Our host for this year's blog hop is the lovely Sharon Davern. 

This week, probably much to our host's dismay, as she is the Queen of the fancy fold, I have gone back to a standard "non fancy fold" card, featuring very traditional festive colours. 


The starting point for my card was to stamp multiple images of one of the sprigs from the Joy of Noel stamp set using Tuxedo Black and then colour them with Old Olive and Cherry Cobbler Stampin Blends.

Next I die cut a piece of White card using one of the Deckled Circle dies. Now that I have completed the card I have no idea why I used that die in fact any die? On this white card I stamped what I would call a filler stamp, in Versamark and then embossed it in white rather than just leaving the white card plain. You can see it a bit closer in the photo below.


Next step was to arrange the coloured sprig pieces that have also been die cut, into a wreath shape and then stick them to the embossed white card. 

For the base of the card I have used a piece of Joy Of Christmas DSP and embossed it using the Christmas Tidings embossing folder. I actually like how the embossing has allowed some of the white core of the paper to come through. As you can see in the photo below.


For interest I decided not to adhere the whole wreath but to place the edge of it off the card front and then cut the side portion off.

I have also added some pine needle sprigs behind the wreath. These have been made by die cutting some Old Olive Card using one of the Christmas Classics dies and sponging the edges using Mossy Meadow ink. 

The sentiment is from Celebrate With Tags and has been white embossed on Real Red card and then die cut using one of the Cheerful Daisies dies. 

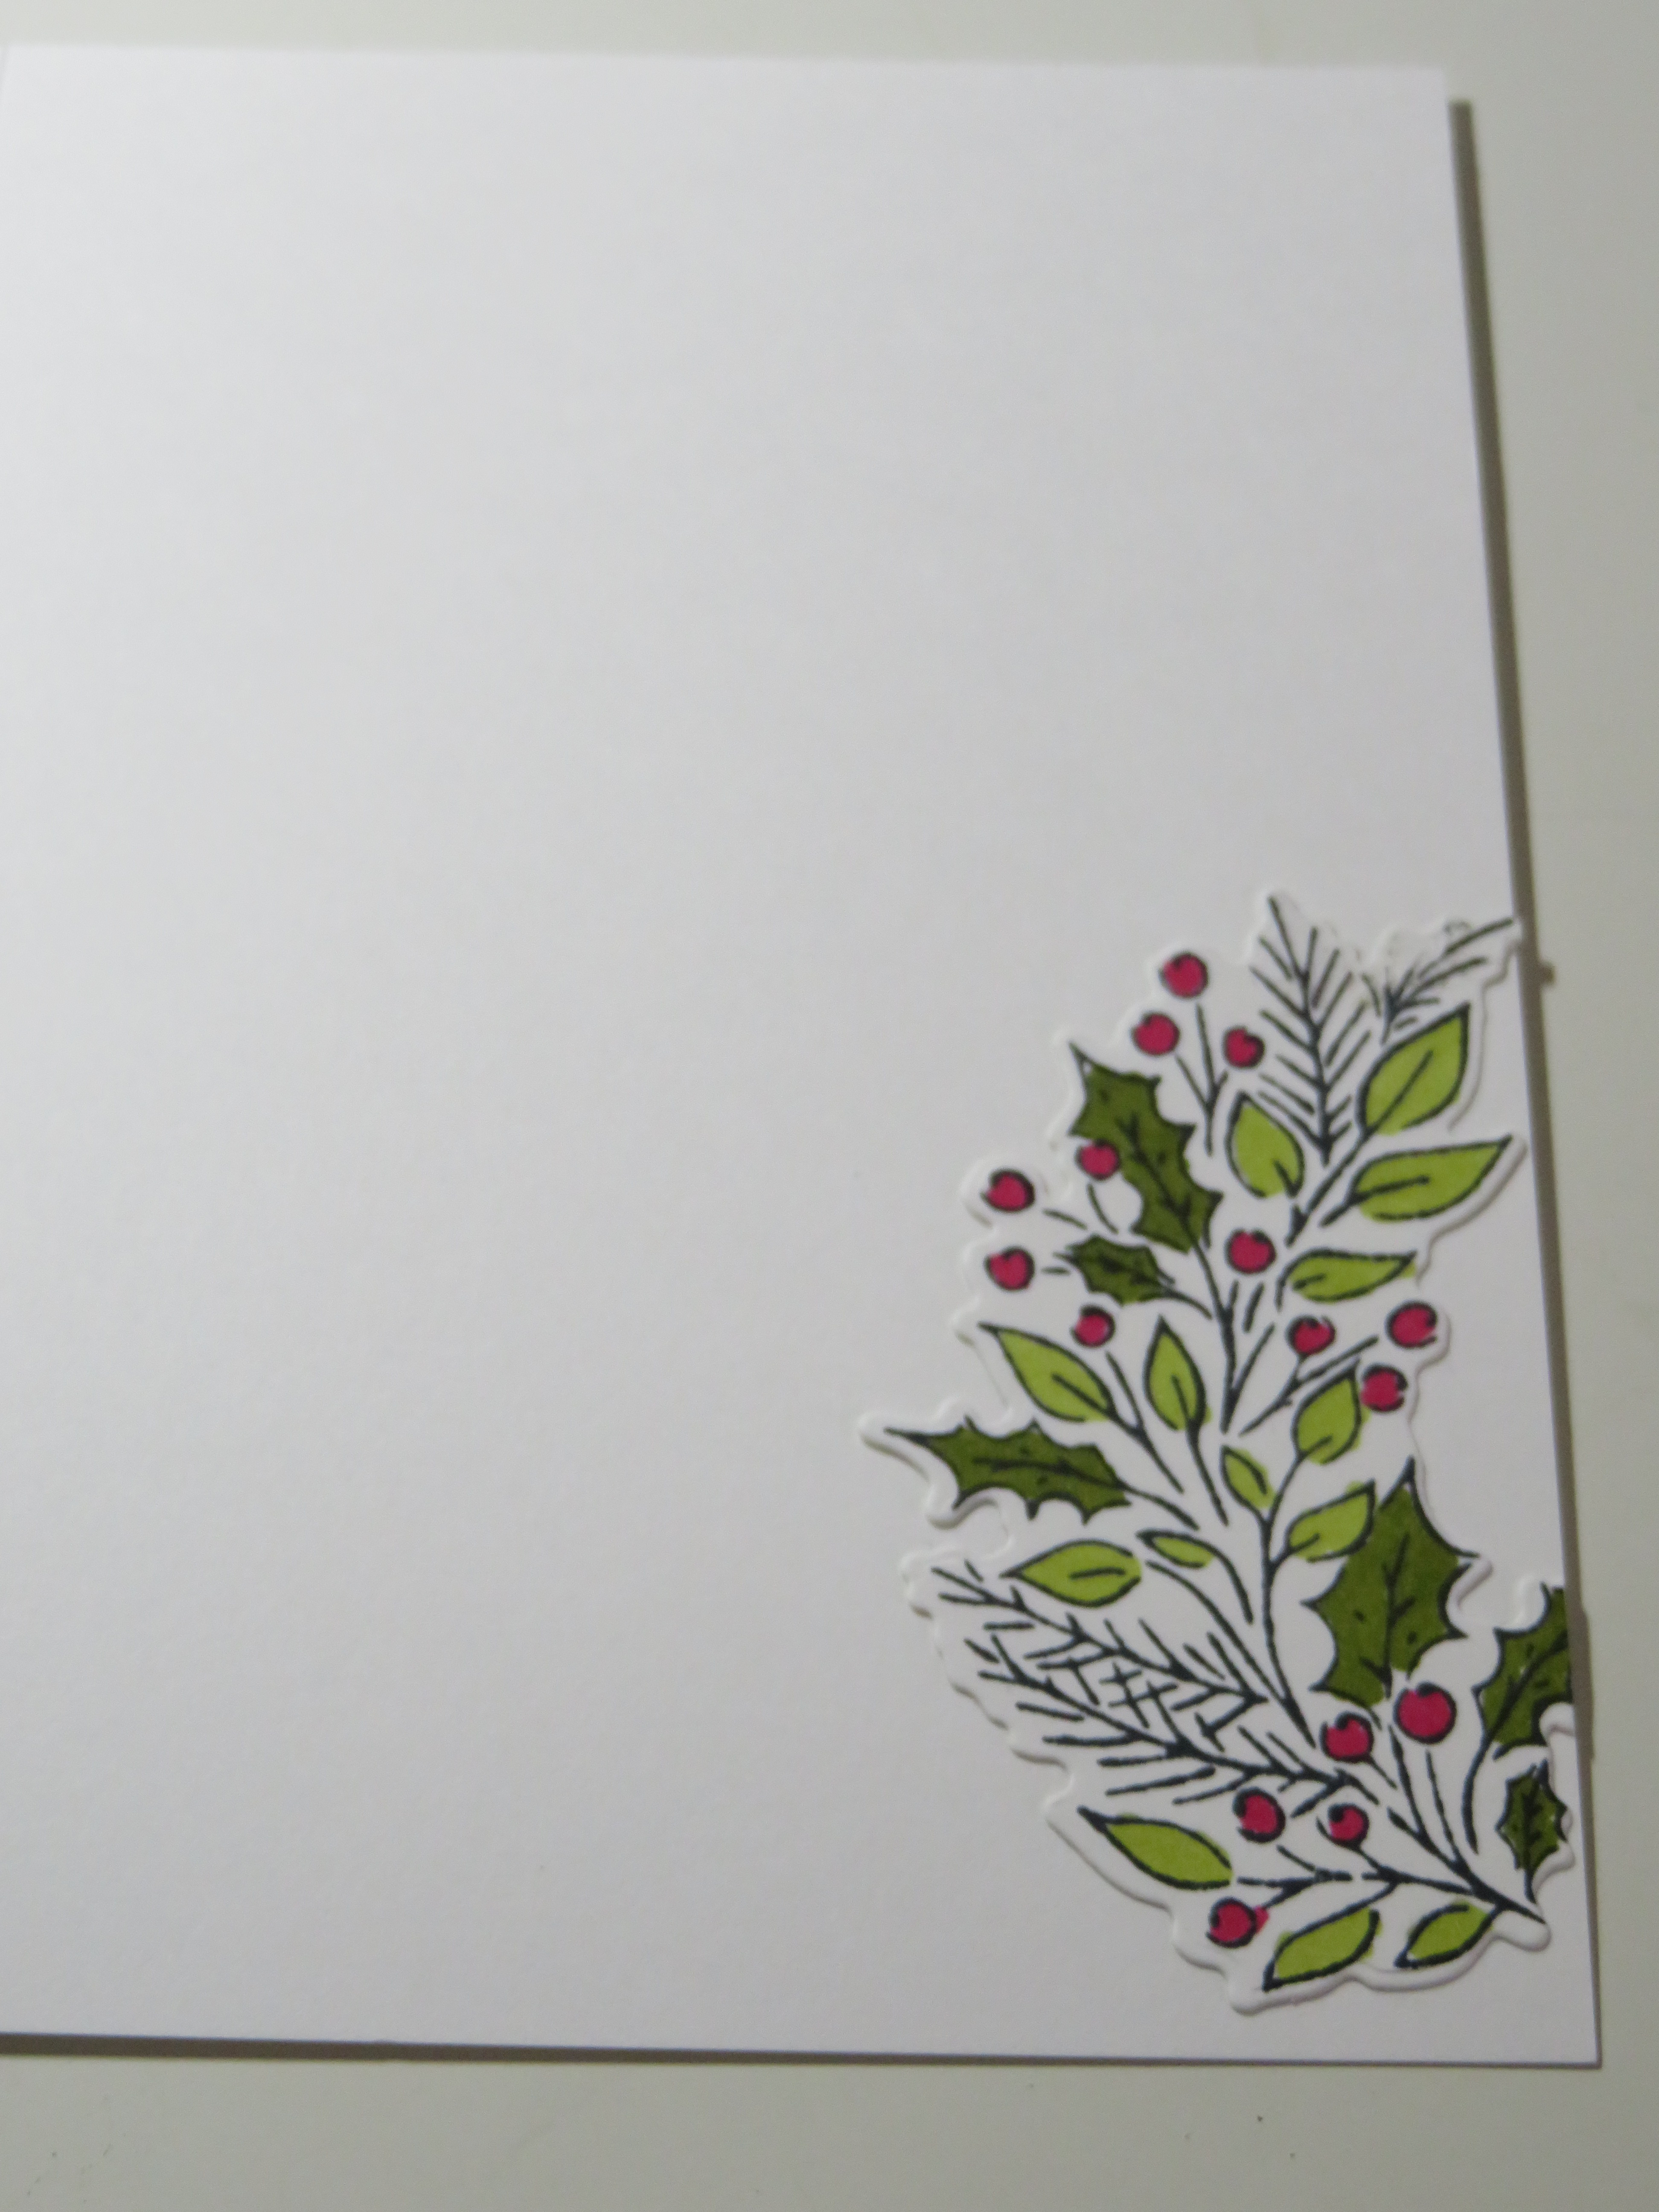
As I had an extra sprig coloured and cut I added it to the inside of the card for interest. 


Next on tonight's blog hop is the lovely Tina Gillespie. Click on the button below and it should take you to her blog where you can see her Inspiring Festive creation.


If the button link is not working or you would like to see the entire list of participants go to our lovely host Sharon Davern's blog , where I am sure you will see a much more incarcerate fancy fold

 If you live in Australia and would like to know more about Stampin' Up! or to purchase products from me then click on my Facebook button above and send me a message and I would be more than happy to help.

Enjoy your week.

Theresa


Wednesday 18 October 2023

Stampin' Up! Garden Green


This week, is week 25 in the Colour Creations blog hop and this week we continue our journey through the existing Stampin' Up! core colours, working in alphabetical order. This week our feature colour is  Garden Green, a member of the Regals family of colours. As the name suggests it is a green colour but not one that I gravitate to often but as it features in some of the Christmas papers this year I am slowly starting to use it more.


 I have had the Trucking Along bundle for sometime now and until this week hadn't chosen to ink it up. When planning my card for this week I thought the truck would really good in Garden Green as the green is very much like the John Deere green used on farms here in Australia. 


For the background paper I have chosen the "reverse" side of one of the pieces of A Walk In The Forest DSP, which is actaully the item that Stampin' Up! has chosen to be the "Making a Difference" product and $4.25 AUD from the sale of every pack of paper is donated to charity. The paper features several greens, Garden Green, Old Olive and Pretty Peacock.

The paper has been embossed using one of my favourtie embossing folders from the online exclusive Basics 3D folders.

For the truck, it is a 2 step stamp, whereby the outline has been stamped in Tuxedo Black Memento ink and the fill has been stamped using Garden Green ink. For the tyres I have used Basic Gray. I have then used the coordinating punch to punch out the truck. This has been popped up on dimensionals and stuck to a piece of White card that has been die cut using Deckled Rectangles. Before adhering the truck I have stamped the flowers in the back of it as well as the road markings. 

This has then been mounted onto a piece of Garden green card that has also been die cut using the Deckled Rectangles. 

The sun has been created using one of the dies from Sentiment Silhouettes and Daffodil Delight card. The sun centre is a Basic Pearl that has been coloured using Stampin Blends. 

The word Sending has been die cut using the Sending Dies, Pretty Peacock card and Adhesive sheets. The outline is also from the same die set and cut in White card. 

For the words "Birthday Wishes"I have stamped them in Pretty Peacock onto white card and then used another of the Sending dies to cut it but as the die was a lot longer than the words, I cut it in 2 passes, moving the die in between. 

Finally I have added a few of the gorgeous Faceted Gems in Lost Lagoon. 


For the inside of the card I have just added another strip of the same paper that I have used on the front of the card. 

Next in tonight's blog hop is the lovely Rachel Palmieri . I look forward to seeing this week's beautiful creation.  


If the "next" button link is not working or you would like to see a full list of participants then you can hop over to our host Cathy Proctor where you can see a full list of tonight's participants.

As always if you live in Australia and would like to know more about Stampin' Up! or would like to purchase some of the products then click on the Facebook tab at the top of the page and send me a message.

As always enjoy your week.

Theresa

Monday 16 October 2023

AWH Heart of Christmas Week 11


Welcome to Week 11 of the Art With Heart, Heart of Christmas. This year we will be hopping weekly, so hopefully we can provide you with some festive inspiration. Our host for this year's blog hop is the lovely Sharon Davern. 

This week, like my last week for the Art With Heart Colour Creations Showcase blog hop, I have once again ventured  "over to the dark side" and created a fancy fold card. Yes our host is definitely the queen of the fancy fold but I am having some fun creating simpler versions. This one is from Lisa Curcio.


 This particular fancy fold is known as the expanding accordion and once open up you can see how it got it's name. The particular fancy fold is a great way to feature some of the beautiful papers that Stampin' Up! has to offer and in this case one of them is from the online exclusive Shining Christmas and the other from the current mini catalogue, called Joyful. It's a bit hard to see from my photos but the Shining Christmas paper is as the name suggests, Shining, not overly but just enough rather than normal matte papers.

Making the card is actually quite simple as it is just a matter of scoring and folding and then embellishing each of the panels.  In this case the smaller panels are using the Shining Christmas paper mounted onto Cherry Cobbler card.

The front square panel is apiece of the Joyful paper and has been mounted onto Cherry Cobbler card as well. 


I have also randomly coloured some of the leaves using a Mossy Meadow Stampin Blend. The word Noel has been die cut using one of the Joy of Noel dies and another online exclusive, Gold Adhesive Glimmer paper. Instead of adhering it to the Joyful paper I have actually propped it up using foam strips. You may also see I have added a few Festive Jewels in Red to both the longer panels and the square panel.

 The photo above shows how the fold gets it's particular name as it opens up like an accordion. The red spotty paper you can see is actually the reverse side of one of the pieces of Shining Christmas. 

For the panel used for writing on I have stamped part of one of the images from the Joy of Noel stamp set and coloured it using Mossy Meadow and Cherry Cobbler  Stampin Blends.  I have only stamped the image partially to allow some room for writing. 


 As you can see from this photo when the "accordion" is collapsed flat, the card will fit nicely into a standard size envelope. 

Next on tonight's blog hop is the lovely Rachel Woollard. Click on the button below and it should take you to her blog where you can see her Inspiring Festive creation. 


If the button link is not working or you would like to see the entire list of participants go to our lovely host  Sharon Davern's blog, where I am sure you will see a much more incarcerate fancy fold

 If you live in Australia and would like to know more about Stampin' Up! or to purchase products from me then click on my Facebook button above and send me a message and I would be more than happy to help.

Enjoy your week.

Theresa


Wednesday 11 October 2023

Stampin' Up! Fresh Freesia


This week, is week 24 in the Colour Creations blog hop and this week we continue our journey through the existing Stampin' Up! core colours, working in alphabetical order. This week our feature colour is  Fresh Freesia, a member of the Subtles family of colours. Fresh Freesia is a gorgeous subtle pinky mauve colour and is also perfect for feminine cards.


After abstaining for many many weeks probably even months, I have finally "crossed over to the dark side" and entered the world of Fancy Fold cards for this weeks Colour Creations Showcase! It isn't a highly intricate one like other fellow team members create but I just thought the Latch fold card would be the perfect layout to feature one of the gorgeous papers from the online exclusive Delightful Floral DSP.


Rather than bore you with all of the measurements and instructions I suggest that you head over to Youtube and search for Latch Fold card videos and there are plenty of them. I found this one to be particularly helpful except that the measurements are designed for US card, https://www.youtube.com/watch?v=R473-5LRvqM. 


The sentiment is from another new online exclusive bundle, Heartfelt Hexagon. The stamp set has a multiple of sentiments for lots of different occasions, Birthday, Wedding, Sympathy to name a few. As well as a couple of border stamps to match the punch. In my case I have used the "Sending you lots of love and hugs" sentiment and stamped it in Fresh Freesia. For the border stamp I have used Berry Burst. 

This has been mounted onto another couple of Fresh Freesia pieces and I have added a few Berry Burst Tinsel Gems.


To brighten up the inside panel used for writing on I have used the Translucent Floral bundle which the Delightful Floral paper is designed to combine with. The floral stem has been stamped in Parakeet Party and the flowers in Berry Burst and Fresh Freesia. Each element is then die cut using the corresponding dies from the Translucent Floral dies. I have also generously added Wink of Stella to the flowers to make them sparkle. 


Finally in the bottom corner I have added a few Fresh Freesia Tinsel Gems.

Next in tonight's blog hop is our lovely host Catherine Proctor. I look forward to seeing this week's beautiful creation.  


If the "next" button link is not working or you would like to see a full list of participants then you can hop over to our host Catherine Proctor where you can see a full list of tonight's participants.

As always if you live in Australia and would like to know more about Stampin' Up! or would like to purchase some of the products then click on the Facebook tab at the top of the page and send me a message.

As always enjoy your week.

Theresa


Monday 9 October 2023

AWH Heart of Christmas Week 10


Welcome to Week 10 of the Art With Heart, Heart of Christmas. This year we will be hopping weekly, so hopefully we can provide you with some festive inspiration. Our host for this year's blog hop is the lovely Sharon Davern. 

This week is all about letting the beautiful paper do the talking. I have  chosen a piece from the beautiful Winter Meadow Designer Series Paper that features Misty Moonlight, Blueberry Bushel and Basic White. 


The sentiment is from Wishes All Around and has been white embossed onto Misty Moonlight card and then die cut using one of the smaller Deckled Circles dies. This has then been mounted onto a piece of the online exclusive Silver Adhesive Backed Glimmer Paper that has also been die cut using another Deckled Circle die. 

Two of the dies from the Wishes All Around dies have then been used to cut wreaths. One using Misty Moonlight card and another using a piece of the Snowflake Magic paper that features White and Silver. To make the process a whole lot easier Adhesive Sheets have been applied to the card and paper before die cutting. 

Finally a piece of the Silver and White Sheer ribbon has been wrapped around the card and all mounted onto Basic White card and then Misty Moonlight card. A few of the beautiful Adhesive Backed Glitter Sequins have also been added for some bling.

Rather than leaving the inside of the card blank, some snowflakes have been cut also using the Silver Adhesive Backed Glimmer Paper and another of the Wishes All Around dies. 


Next on tonight's blog hop is the lovely Kathryn Mangelsdorf. Click on the button below and it should take you to her blog where you can see her Inspiring Festive creation.


If the button link is not working or you would like to see the entire list of participants go to our lovely host Sharon Davern's blog.

 If you live in Australia and would like to know more about Stampin' Up! or to purchase products from me then click on my Facebook button above and send me a message and I would be more than happy to help.

Enjoy your week.

Theresa


Wednesday 27 September 2023

Stampin' Up! Early Espresso


This week, is week 22 in the Colour Creations blog hop and this week we continue our journey through the existing Stampin' Up! core colours, working in alphabetical order. This week our feature colour is  Early Espresso, a member of the Neutrals family of colours. Early Espresso  as the name would suggest is a dark brown coffee colour colour.


 For my card this week I have used many of the new products from the All About Autumn suite of products from the current mini catalogue. It's a beautiful suite of products featuring Autumn Leaves and the colours , Copper Clay, Very Vanilla and Copper foil to name a few. All of which team beautifully with Early Espresso, this week's feature colour. 


The Very Vanilla card base has been embossed using the new embossing folder, Distressed Tile. This has been mounted onto a piece of Early Espresso card. 

Two different pieces of the beautiful All About Autumn paper have been die cut using two of the Distressed Circles dies and mounted onto the embossed Very Vanilla panel. 

Then a variety of the leaves have been stamped and die cut using Very Vanilla card, Early Espresso and Crumb Cake ink and the Autumn Leaves bundle. A smaller maple leaf has been cut using  Early Espresso card. The veins of the larger leaves along with a couple of the smaller leaves have been die cut using the Oxidized Copper Specialty Designer Series Paper. It makes it much easier to apply the leaf veins by using Multipurpose Adhesive Sheets.


The sentiment from So Sincere has been stamped in Early Espresso onto Very Vanilla card and then die cut using one of the dies from the Autumn Leaves dies.

Finally a bow using (the quite hard to tie) Copper ribbon and a few Neutrals Adhesive Backed Sequins have been added.

Whilst stamping and cutting the various leaves I ended up having an extra so I have used it in the inside of the card. This time using Copper Clay ink and Early Espresso card.


Next in tonight's blog hop is the lovely Sharon Davern who loves to share her fancy fold creations with us. I look forward to seeing this week's beautiful creation.  


If the "next" button link is not working or you would like to see a full list of participants then you can hop over to our host Cathy Proctor where you can see a full list of tonight's participants.

As always if you live in Australia and would like to know more about Stampin' Up! or would like to purchase some of the products then click on the Facebook tab at the top of the page and send me a message.

As always enjoy your week.

Theresa


Monday 25 September 2023

AWH Heart of Christmas Week 8


Welcome to Week 8 of the Art With Heart, Heart of Christmas. This year we will be hopping weekly, so hopefully we can provide you with some festive inspiration. Our host for this year's blog hop is the lovely Sharon Davern. 

Lately everywhere I seem to look for ideas for card designs I seem to keep seeing cards made using the Fractured Card Technique so I thought I would give it a go for this week's blog hop. Turns out it is super easy and so I managed to make 2 cards this week which are very similar but in different colours. 


For my first card I had decided to use one of the lovely and bright papers from Merry Bold and Bright DSP. The central image is from the online exclusive stamp set So Very Merry and has been coloured using Poppy Parade, Flirty Flamingo, Granny Apple Green and Daffodil Delight Stampin Blends. The sentiment is also from So Very Merry and has been stamped in Poppy Parade.

The image has been punched using the 2 3/8 inch punch and then mounted onto a piece of Poppy Parade card cut using one of the Stylish Shapes dies. This was then mounted onto a piece of Basic White card also die cut using one of the Stylish Shapes dies. On each of the corners of the square a leaf sprig has been stamped and coloured. This has then been adhered to the Merry Bold and Bright paper.

To give the fractured look half inch strips of Poppy Parade card have been cut and placed around the square.

I have then added some Adhesive Backed Glitter Sequins to each corner and the central circle. 


For the inside of the card I have added a strip of Poppy Parade card along with a strip of the Merry Bold and Bright paper, mounted onto White card. 

For my second card I have used everything the same except the paper used is from Bright and Beautiful, and instead of Poppy Parade it's Blueberry Bushel for this card.


In this case the bird image has been coloured using Blueberry Bushel, Pool Party and Granny Apple Green. The sentiment has been stamped in Blueberry Bushel. 


The same idea has been used for the inside of the Blueberry Bushel card, as the Poppy Parade card.

Next on tonight's blog hop is the lovely Cathy Proctor. Click on the button below and it should take you to her blog where you can see her Inspiring Festive creation.


If the button link is not working or you would like to see the entire list of participants go to our lovely host Sharon Davern's blog.

 If you live in Australia and would like to know more about Stampin' Up! or to purchase products from me then click on my Facebook button above and send me a message and I would be more than happy to help.

Enjoy your week.

Theresa


Wednesday 20 September 2023

Stampin' Up! Daffodil Delight


This week, is week 21 in the Colour Creations blog hop and this week we continue our journey through the existing Stampin' Up! core colours, working in alphabetical order. This week our feature colour is  Daffodil Delight, a member of the Brights family of colours. Daffodil Delight is a bright sunshiny yellow colour.


 This week I had actually decided it was time to finally open up the Zany Zoo bundle and have some fun with it. Unfortunately due to an unforeseen, unplanned and rushed visit to the vet with our youngest dog I had very little time to plan my card for this week. So out came the Annual Catologue for inspiration and so I have actually ended up CASING the card on page 46. It was actually a lot of fun to put together.


The beauty of the Zoo Crew suite of products is that there are dies that match the stamp set but also some of those dies match images on the paper. Which for me is great as it means no fussy cutting. 

The central dancing tiger image is one from the the Zoo Crew paper and has been cut using one of the dies from the Zany Zoo bundle. Her tutu has been coloured using Daffodil Delight Stampin blends. 

The two singing tortoises are stamped images from the Zany Zoo bundle and die cut using the corresponding dies. Stampin Blends in Daffodil Delight and Granny Apple Green have been used to add colour. 

The stage curtains have been cut from a piece of the Les Shoppes paper using dies from Zany Zoo and the stage backdrop is a reverse side of Zany Zoo paper. 

For the stage floor I have cut a piece of Pecan Pie card and embossed it using the Timber Embossing Folder to make it look like a wooden stage floor. 


The cute little flowers are also from the Zany Zoo dies and have been cut using Daffodil Delight card. The flower centres are Iridescent Pearls Basic Jewels that have been coloured using Daffodil Delight Stampin Blends.

The sentiment is from the Zany Zoo stamp set but as I only wanted to use the "Celebrate You"words I used the marker to stamp method, using Pecan Pie. 

For the inside of the card I couldn't resist using the Zany Zoo dies to cut another cute image from the Zoo Crew paper and I have added the whole sentiment once again using Pecan Pie. 


Next in tonight's blog hop is the lovely fancy fold queen Sharon Davern. I look forward to seeing this week's beautiful creation.  


If the "next" button link is not working or you would like to see a full list of participants then you can hop over to our host Cathy Proctor where you can see a full list of tonight's participants.

As always if you live in Australia and would like to know more about Stampin' Up! or would like to purchase some of the products then click on the Facebook tab at the top of the page and send me a message.

As always enjoy your week.

Theresa


Monday 18 September 2023

AWH Heart Of Christmas Week 7


Welcome to Week 7 of the Art With Heart, Heart of Christmas. This year we will be hopping weekly, so hopefully we can provide you with some festive inspiration. Our host for this year's blog hop is the lovely Sharon Davern. 

This week's creation is a blend of products from the Annual catalogue, the new mini and brand new online exclusives, and they all go together so well but that is what you would expect with all of the Stampin' Up! products. 


It was actually quite hard to photograph the card this week as there are numerous different "shiny"bits for want of a better word. 

The striped background paper is one of the brand new online exclusives from the Shining Christmas Specialty Designer Series Paper that features Cherry Cobbler and Mossy Meadow. One side of each sheet has a shiny element to it and the other side is matt Cherry Cobbler designs. The paper I have chosen in this case has shiny Cherry Cobbler elements which hopefully the photo shows them.

The central wreath from Cottage Wreaths has been stamped in Mossy Meadow and die cut using the corresponding die from Country Wreath dies. The berries also from the same stamp set have been stamped in Cherry Cobbler and die cut and then I have added some Red Festive Pearls. The bow at the top of the wreath is also from the same bundle and has been stamped in Cherry Cobbler and then I have applied Wink of Stella liberally. 


This has then been mounted onto a piece of Mossy Meadow card that has been embossed using the Fern 3D embossing folder. 

To create the sentiment I have used the new stamp set Joy To You and Masking Paper. The top line is in Mossy Meadow and then bottom two in Cherry Cobbler. This has then been die cut using one of the Something Fancy dies and then mounted onto a "reverse" side of Shining Christmas paper.

Since the base of the card is Cherry Cobbler I have added a panel to the inside of the card, using the Countryside Corners bundle and a Cherry Cobbler marker. 


Excuse the shadows in the picture but I was running a bit time poor. I have also added a bow to the bottom, stamped in Cherry Cobbler and die cut and then added a little Wink of Stella to it.


Next on tonight's blog hop is the lovely Andrea Sargent. Click on the button below and it should take you to her blog where you can see her Inspiring Festive creation.


If the button link is not working or you would like to see the entire list of participants go to our lovely host Sharon Davern's blog.

 If you live in Australia and would like to know more about Stampin' Up! or to purchase products from me then click on my Facebook button above and send me a message and I would be more than happy to help.

Enjoy your week.

Theresa